This work instruction is part of the guide Setting up your insurance solution.
This work instruction outlines the steps to manually create an insurance policy for a customer, including associated objects and coverages.
Add an insurance policy
After creating a saleable product (see the directive ‘Product setup’), you can manually add this to a customer.
- In the main menu, navigate to the tile ‘Customers’.
- Choose your customer from the list and click on their name; the relations card will now open
- Select ‘Add insurance’ under the button ‘More’ in the upper right corner. You can also do this via the tile on the left side of the screen. A new window will open
- Fill in the required fields:
- Customer: automatically filled in
- Effective date: automatically filled in, can be changed manually
- Product: leave empty
- Risk pool: select the company you want to use to take out the insurance
- Insurance: select the insurance you want to take out
- Choose ‘Save’
- A draft version of the insurance will be created
Optional, auto-filled fields (can be adjusted if needed):- Product: automatically filled in
- Price list item: automatically filled in (based on chosen insurance)
- Reference: leave empty
- Description: automatically filled in (based on chosen insurance)
- Insurer: automatically filled in (based on chosen insurance)
- Proxy: add if necessary
- Agent: add if necessary
- Billing unit: automatically filled in (based on chosen insurance), can be changed manually
- Effective date: automatically filled in (based on chosen insurance), can be changed manually
- Premium due date: automatically filled in (based on chosen insurance)
- Contract due date: automatically filled in (based on chosen insurance)
- Prolongation type: default ‘Tacitly renewed after contract due date’, can be changed manually
- Collection by: default ‘Insurer’ (or ‘Verzekeraar’), can be changed to ‘Proxy’ (or ‘Volmacht’) or ‘Agent’ (or ‘Tussenpersoon’)
- Invoice template: default ‘Incasso’, can be changed when necessary (for example when there is an agent)
- Payment method: default ‘Incasso’, can be changed when necessary (for example when there is an agent)
- Bank account: automatically filled in if customer details are known
- Invoice address: automatically filled in if customer details are known
- Choose ‘Save’
The foundation is in place! An insurance has been added to the customer’s account.
Add an insured objects
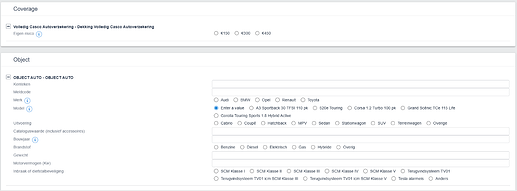
In some cases, an insurance policy also includes an insured object. In the example above, a car insurance is taken out, so the car in question needs to be added to the insurance.
- On the insurance page you can find the block ‘Insured objects’
- Select ‘Add new object’, a new tab will open
- A ‘Car object’ is automatically created, including a reference and description. Edit if necessary
- Select ‘Save’
You have now created an insured item and can return to the insurance page.
Adding coverages
After creating the insurance policy and adding the objects, additional coverage can be added. Some policies come with standard (required) coverage, which will be added automatically (for example, third-party liability insurance with the car insurance mentioned above).
- On the insurance page you can find the block ‘Coverages’ (or ‘Dekkingen’)
- Select ‘Add new’, a new tab will open
- Check the boxes of the coverages you want to add, and select ‘Add’
- The added coverages can now be found in the navigation menu on the left side of the screen on the insurance page
- Select the magnifying glass next to each coverage to view and enter its properties. This page can also be found using the tile ‘Properties’
- A new tab will open
- Fill in all the required information and select ‘Save’
All coverages are now added to the insurance.
Finalize the insurance
Now that all objects and coverages have been added, it’s time to finalize the insurance policy.
- When accepting policies or coverages in the Novulo environment it’s required to link an acceptance form to the insurance policy. See the directive Policy acceptance work instruction for more information.
- Once the insurance policy has been accepted, it can be finalized. To do this, select the tile ‘Finalize version’
The insurance policy has been finalized for this customer!


